 With the AI revolution, writing has become crucial for mastering prompts and getting LLMs to produce results that match our expectations. I’ve always been a lazy writer, but I’m embracing the fact that writing is now an essential skill for everyone. So here I am, starting a new blog—yes, the one you’re visiting now, and yes, this is my first post. Having worked in IT for over 25 years, this isn’t my first attempt at blogging. I’ve always preferred WordPress, the most popular and well-known blogging engine. However, my main issue with WordPress has been its maintenance demands—constant upgrades, security patches, and plugin updates. While WordPress is more than just a blog engine—it’s a powerful CMS—and as the saying goes, with great power comes great responsibility, it’s a level of responsibility I didn’t want for a simple blog.
For this new blog, I searched for something lighter, faster, and nearly cost-free that requires minimal maintenance. That’s when I discovered Hugo. Hugo is an open-source Static Site Generator (SSG) written in Go. Since 2013, it has earned a reputation for speed and efficiency. Hugo sites are incredibly fast and can be built in less than a second—in fact, Hugo is considered the world’s fastest framework for building static websites. Its popularity continues to grow, approaching the prominence of established platforms like Jekyll and Gatsby. What impressed me most about Hugo was its simplicity. Without any Go expertise, I had my blog running in just a few hours by following the official Quick Start documentation.
In this post, I’ll explain how to install Hugo on a MacBook Pro and set up a local version of the blog before deploying it to a hosting environment. Specifically, I’ll cover:
- Installing Hugo on Mac using Homebrew
- Create a brand new blog
- Installing and personalizing a theme
- Run Hugo locally
- Create the first blog post
Install Hugo on a Mac using Homebrew
Installing Hugo on a Mac with Homebrew is straightforward. First, we need to verify that Homebrew is installed on your machine. While there are several ways to check this, I prefer using the which command in the bash terminal.
If Homebrew is installed, the command will return the installation path /usr/local/bin/brew
>>> which brew
/usr/local/bin/brew
If Homebrew is not installed, the command will return the message brew not found
>>> which brew
brew not found
If you see the brew not found message, install Homebrew by running this command in your terminal:
/bin/bash -c "$(curl -fsSL https://raw.githubusercontent.com/Homebrew/install/HEAD/install.sh)"
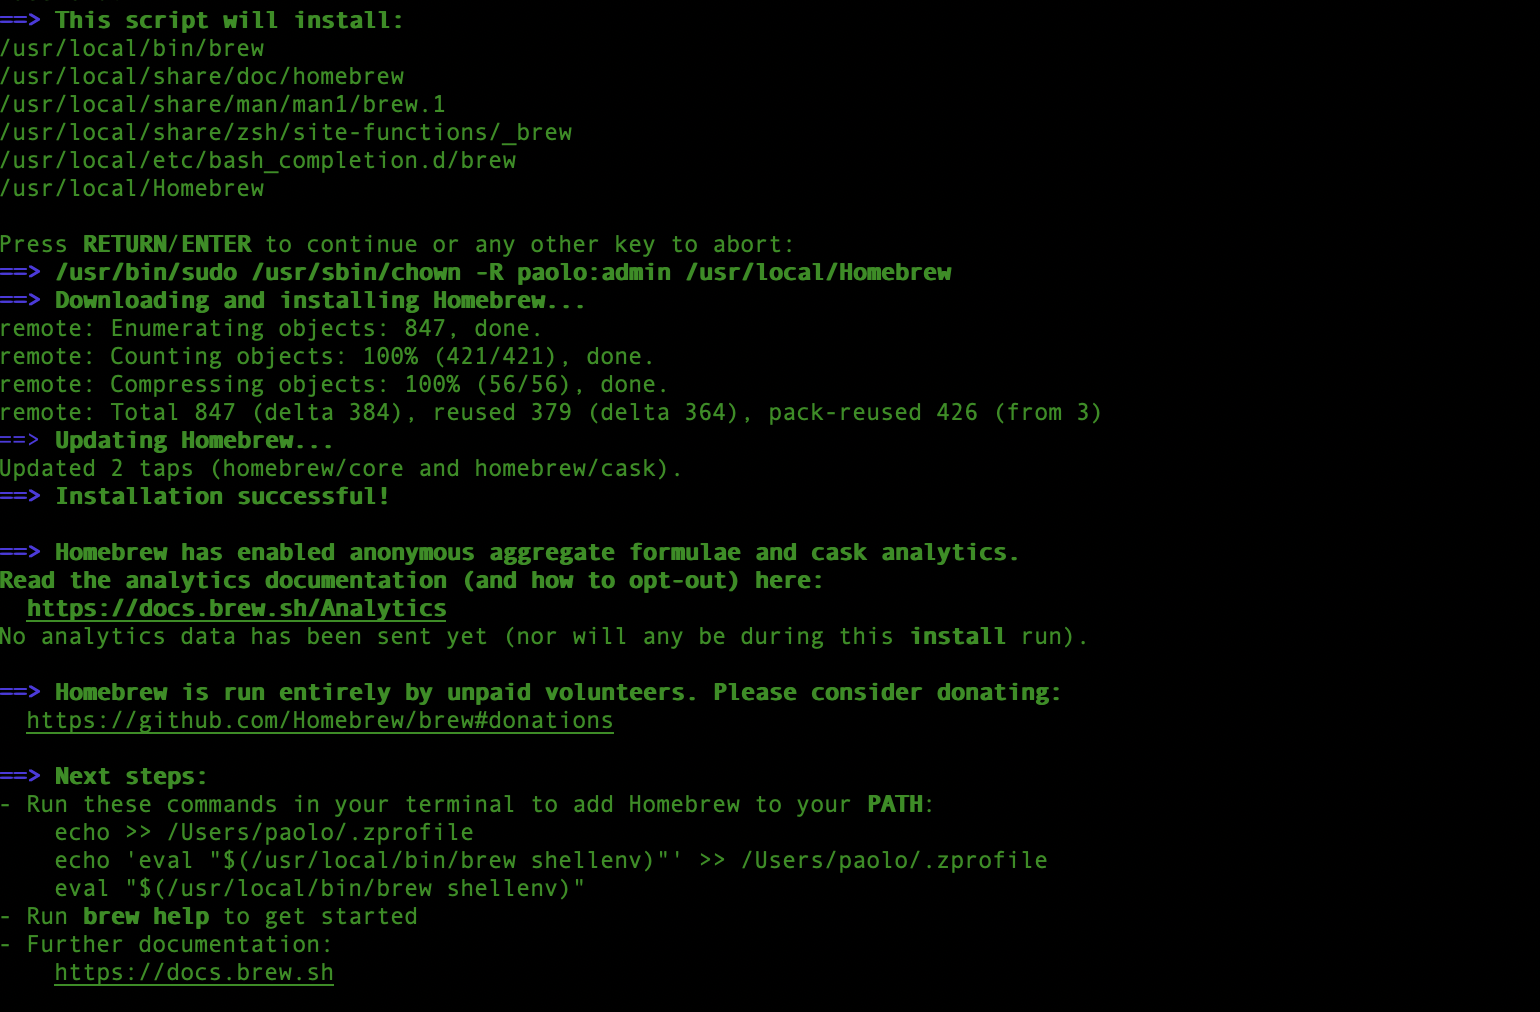
When the installation completes, you’ll see a confirmation message. (Note that the screenshot below shows the result of upgrading Homebrew).
 Now that Homebrew is running correctly, we can install Hugo. In your terminal, run:
brew install hugo
Check the terminal for the installation result.
Finally, run the Hugo version command to verify the installation. If the version matches what we just installed, the installation was successful.
hugo version
Create a Brand New Blog
Now that Hugo is installed and running on our local machine, we’re ready to create our new site. First, open the terminal and navigate to the root folder where you want to create the site using the cd command. Then, execute the Hugo command to create the MyNewBlog site. Hugo supports multiple configuration formats—we’ll use YAML in this example, though you can also choose JSON or TOML.
hugo new site MyNewBlog --format yaml
Creating the new site is quick. Hugo will generate the main folder “MyNewBlog” and all necessary subdirectories to run the site. Here’s the folder structure you’ll see:
MyNewBlog/ Each directory serves a specific purpose:
- archetypes: defines templates for new content
- assets: stores global resources like images, CSS, JavaScript, and TypeScript files
- content: contains the markup files
- data: stores data files such as JSON and XML
- hugo.yaml: holds configuration settings for the site
- i18n: contains translation files for multilingual support
- layout: contains templates that transform content, data, and resources into a complete website
- static: contains files that will be copied directly to the public directory during build
- themes: stores one or more themes in separate subdirectories Hugo’s structure is intuitive and straightforward to understand.
Installing and Personalizing a Theme
The next step after creating the new site is choosing its look and feel. Hugo comes with numerous themes created and maintained by the community, available for download here. Each theme includes instructions for installation and configuration. For this site, we’ll use the PaperMod theme, but feel free to choose any theme you like. To install PaperMod, open the terminal, navigate to the root of the MyNewBlog directory, and execute these commands one by one:
git init
git submodule add --depth=1 https://github.com/adityatelange/hugo-PaperMod.git themes/PaperMod
git submodule update --init --recursive # needed when you reclone your repo (submodules may not get cloned automatically)
echo "theme: PaperMod" >> hugo.yaml
These commands will pull the latest version of the theme from GitHub, download it to the local themes directory, and configure the website to use the new theme by updating the hugo.yaml file.
Run Hugo Locally
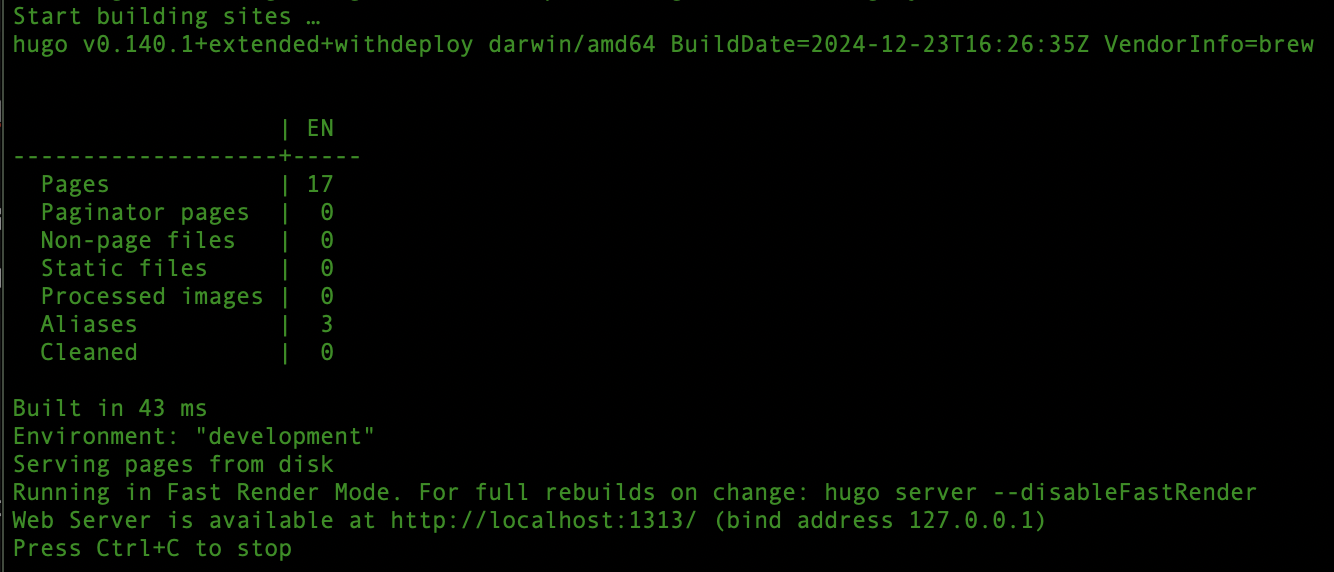
Final step! Let’s start the site. Hugo comes with an embedded web server that builds and serves the site. The base command to build and start the web server is hugo server
hugo server
The command will start the embedded web server, which by default runs on localhost port 1313.
 At this point, if we open the browser and navigate to http://localhost:1313, we should see something like this:
Create the First Blog Post
Creating a new blog with Hugo was straightforward and quick. Now let’s see how to create a new blog post. First, let’s create a new folder called posts under the content directory:
cd content
mkdir posts
Then execute this command to create our new blog post and start the Hugo server again, this time including draft files:
hugo new content posts/MyNewPost.md
hugo server --buildDrafts
And here’s the new post:
Conclusion
In this post, we explored Hugo and learned how to create a new blog and write a post. I hope you were able to follow the process and get everything working smoothly. I’m enjoying Hugo, and I think I’ll stick with it for a very long time.